

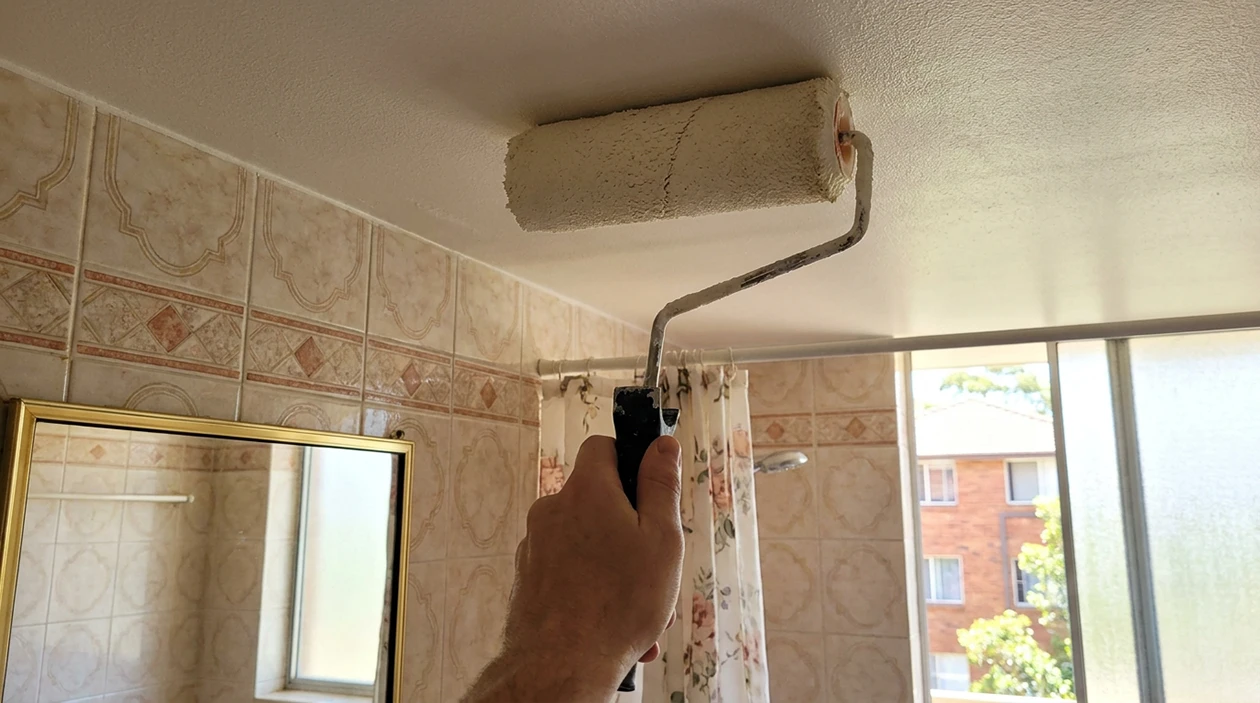
The best paint for a bathroom ceiling is a premium water-based interior acrylic with anti-mould additives, in a satin or semi-gloss finish rather than flat. Those specialty bathroom paints form a tight, washable film that stops steam soaking into the plasterboard and stops mould spores taking hold. Flat ceiling paint does the opposite. It is porous, it drinks up moisture, and in a Sydney bathroom with a weak exhaust fan it will be spotted with black within a couple of summers.
If your bathroom ceiling has gone black, you are in very ordinary company. Between a third and half of all Australian homes have a mould problem. That is the WA Department of Health’s read of the Australian studies, published in its 2024 review Indoor Mould: Health Risk Assessment and Management. Bathrooms and laundries go first.
What is the best paint for a high humidity bathroom ceiling?
The choice comes down to moisture-resistant versus ordinary. Standard ceiling paint is built to hide imperfections, so it is flat and open-pored. Bathroom formulas use tighter resins that shed water, plus fungicides that stop mould growing on the paint film itself. It is the same decision you face anywhere moisture collects, which is why we treat wet areas differently across all our interior painting in Sydney.
| Feature | Regular ceiling paint | Specialty bathroom paint |
|---|---|---|
| Sheen | Ultra-flat and porous | Satin or semi-gloss, hard film |
| Mould resistance | None | Active fungicides included |
| Washability | Low, marks up when scrubbed | High, properly scrubbable |
| Best for | Bedrooms and living areas | Bathrooms, laundries, steam rooms |
If the room has a shower, go with a purpose-built bathroom product. Dulux Wash&Wear Kitchen & Bathroom is the standard pick, and Zinsser Perma-White is a strong option over problem ceilings that have gone mouldy before.
If it is a powder room with no shower, a good quality low-sheen acrylic is fine. You do not need the extra spend.
One thing people get wrong: a higher sheen shows every ripple and patch in the plasterboard. You will see more of the ceiling’s flaws. Take that trade. Sheen beats hiding power in a wet room every time.
How to prepare and paint a mouldy bathroom ceiling
You cannot just paint over mould. The spores sit under the new film, feed on it, and come back through the surface within weeks. The same logic applies to any tired surface, as we cover in should you paint over old paint. Work through four stages instead: kill, seal, shield, reinforce.
Visible indoor mould is linked to 7.9 per cent of the childhood asthma burden in Australia. That figure comes from modelling published in the Medical Journal of Australia, Damp housing, gas stoves, and the burden of childhood asthma in Australia. Paint over it and the spores stay.
Not sure it is mould? Wipe the ceiling with a damp microfibre cloth. If the residue is grey or black and smears, that is mould. If it is white or light grey dust that lifts cleanly, it is only surface grime.
1. Kill the mould
Start with what NSW Health recommends as first line, a solution of four parts vinegar to one part water, or a mild detergent. Spray it on, give it time to work, then scrub. Most bathroom ceiling mould lifts at this stage.
If it will not shift, NSW Health’s next step is diluted bleach at 250ml of bleach in 4 litres of water. Wear PVC or nitrile rubber gloves and safety glasses, keep the room well ventilated, and never mix bleach with an ammonia-based cleaner. Wash the ceiling back with sugar soap, rinse with clean water, and make sure the surface is dried completely.
Then leave the ceiling a full 24 hours before you go near it with a brush.
2. Seal the stains
Apply one coat of a stain-blocking primer. A shellac or oil-based product such as Zinsser B-I-N locks in the old mould shadows so they do not bleed through the topcoat. Skip it and those stains come back through within weeks.
3. Shield with the first coat
Cut in the edges with a 50mm angled brush, then roll the middle. Use a 10mm nap microfibre roller. Cheap covers shed fibres and leave an orange-peel texture that no amount of topcoat will smooth out.
4. Reinforce with the second coat
Wait at least four hours, then apply the second coat rolling in the opposite direction to the first. Cross-rolling like this is what gives you even film build and hides the lap marks.
How long do you have to wait to shower after painting a bathroom ceiling?
Dry to touch is not the same as cured. Interior acrylic is usually dry in a few hours and recoatable within four, but it takes up to 30 days to reach full hardness and moisture resistance. Steam hitting a soft film is what causes brown sticky streaks running down the paint, known as surfactant leaching.
| Time since painting | What you can do |
|---|---|
| 0 to 4 hours | Stay out of the room. Any humidity now will mark the finish. |
| 24 hours | A short lukewarm shower is fine, with the exhaust fan running and the door open. |
| 48 to 72 hours | Back to normal showering. |
| Up to 30 days | Avoid scrubbing the ceiling or hanging steamy washing in there while the paint finishes curing. |
Quick test: run a finger across the surface. If it feels grippy or slightly soft, give it longer. Cured paint feels hard and slick, like a plastic shell.
What colours make a bathroom look expensive?
Stark white ceilings are the default and they are usually a mistake. Against coloured tiles or a warm vanity, brilliant white reads clinical and makes the tile colour look cheap by comparison.
Tint it, do not default to white. Have the ceiling mixed at about a quarter strength of the wall colour. The room then reads as one wrapped surface rather than a box with a lid on it, which is the trick behind most luxury hotel bathrooms.
Colours to avoid: yellow-based whites, which look like smoke staining once the light hits them, and deep blues, which drop the ceiling height and make a small bathroom feel closed in.
Cool-toned greys and soft blue-whites are the safest choice in a small bathroom. Getting that percentage right is guesswork at the paint counter. Upscale Painting is Dulux Accredited, so the colour consult comes free with every job.
Before you start: two quick checks
Test the exhaust fan. Hold a single sheet of toilet paper against the vent with the fan running. If the fan cannot hold it in place, it is not clearing steam and no paint will hold up against it for long. Fix the ventilation first. This is the usual culprit in older units, which is why ventilation is the first thing we look at on apartment painting jobs.
Buy satin, not flat. If the tin says flat or ceiling white and nothing about kitchens and bathrooms, put it back.
Troubleshooting
| Problem | Cause | Fix |
|---|---|---|
| Paint bubbling as you apply it | Trapped moisture or oil residue in the surface | Sand the area back, wipe it down with methylated spirits, let the metho dry, then prime with a solvent-based product before recoating |
| Brown sticky streaks overnight | Surfactant leaching from showering too soon | Wash the streaks off with warm water and a soft cloth, then keep the room dry for another 48 hours |
| The mould came straight back | The spores were painted over rather than killed, or the ventilation is not coping | Sort both before any more paint goes up |
Is your ceiling telling you something?
Flaking or peeling in sheets. Regular flat paint was used last time and it has lost its grip in the humidity. The whole ceiling needs stripping back, not patching.
Orange peel texture. A cheap roller cover, or paint applied too thin. A 10mm nap microfibre roller and a properly loaded coat fixes it next time around.
Staining around the light fitting or shower head only. Steam is concentrating in one spot. Usually a ventilation placement issue rather than a paint issue.
Humidity is the thread running through all of it, and Sydney gives you plenty.
Get it done once
Bathrooms are small, awkward and unforgiving. Working overhead in a confined room, cutting around downlights and exhaust vents, and getting a satin finish to look even is harder than it looks from the ground.
Upscale Painting & Decorating (NSW Licence 453040C) has been painting Sydney homes since 2005. Esmayel quotes every job himself. You get a fixed price in writing before work starts. Every job carries our Not-a-Scratch Guarantee and a Dulux 5-Year Workmanship Warranty.
Call 0490 094 862 for an obligation-free quote, any time, or send us the details and we will come back to you.